Single Sign-On with Auth0
All the tokens, secrets etc. listed in this page are temporary and are for demonstration purpose only, they should be replaced with your real values.
Overview
This is a step-by-step guide using Auth0 as an Identity Provider (IdP) and FeatBit as a Service Provider (SP) to authenticate users to FeatBit.
The final configuration should be similar to the following:
{
    "clientId": "eI9NSqLyw03WqKhMT2h1McqNf4Wre86W",
    "clientSecret": "ZghOBGxQrrcj1Iw3DdJiRE5k6TgPFJT_epSUG7v0XPibS7IWxRdIL8_bS7OLyw1J",
    "tokenEndpoint": "https://dev-nyi0i4bvcwpfd0ca.us.auth0.com/oauth/token",
    "clientAuthenticationMethod": "client_secret_post",
    "authorizationEndpoint": "https://dev-nyi0i4bvcwpfd0ca.us.auth0.com/authorize",
    "userEmailClaim": "email",
    "scope": "openid profile email"
}
SSO Settings
Once you have registered an account with Auth0, you can follow the steps below to configure Auth0 as an IdP for FeatBit.
Create Application in Auth0
Please follow the following screenshots to create an application in Auth0. The Application Type should be Single Page Web Applications.


Configure Application in Auth0
-
Go to the
Settingstab of the application you just created, copy theClient IDandClient Secretto the FeatBit SSO configuration page.
-
Scroll down to Applicaion URIs section, add the following URLs to the
Allowed Callback URLsandAllowed Web Originsfields.- Allowed Callback URLs:
https://app.featbit.co/en/login?sso-logged-in=true,https://app.featbit.co/zh/login?sso-logged-in=true - Allowed Web Origins:
https://app.featbit.co
- Allowed Callback URLs:
-
Scroll down to the
Advanced Settingssection, Copy the following values from theEndpointssection as follows:- OAuth Authorization URl
- OAuth Token URL

-
Click on Save Changes button to save the changes.
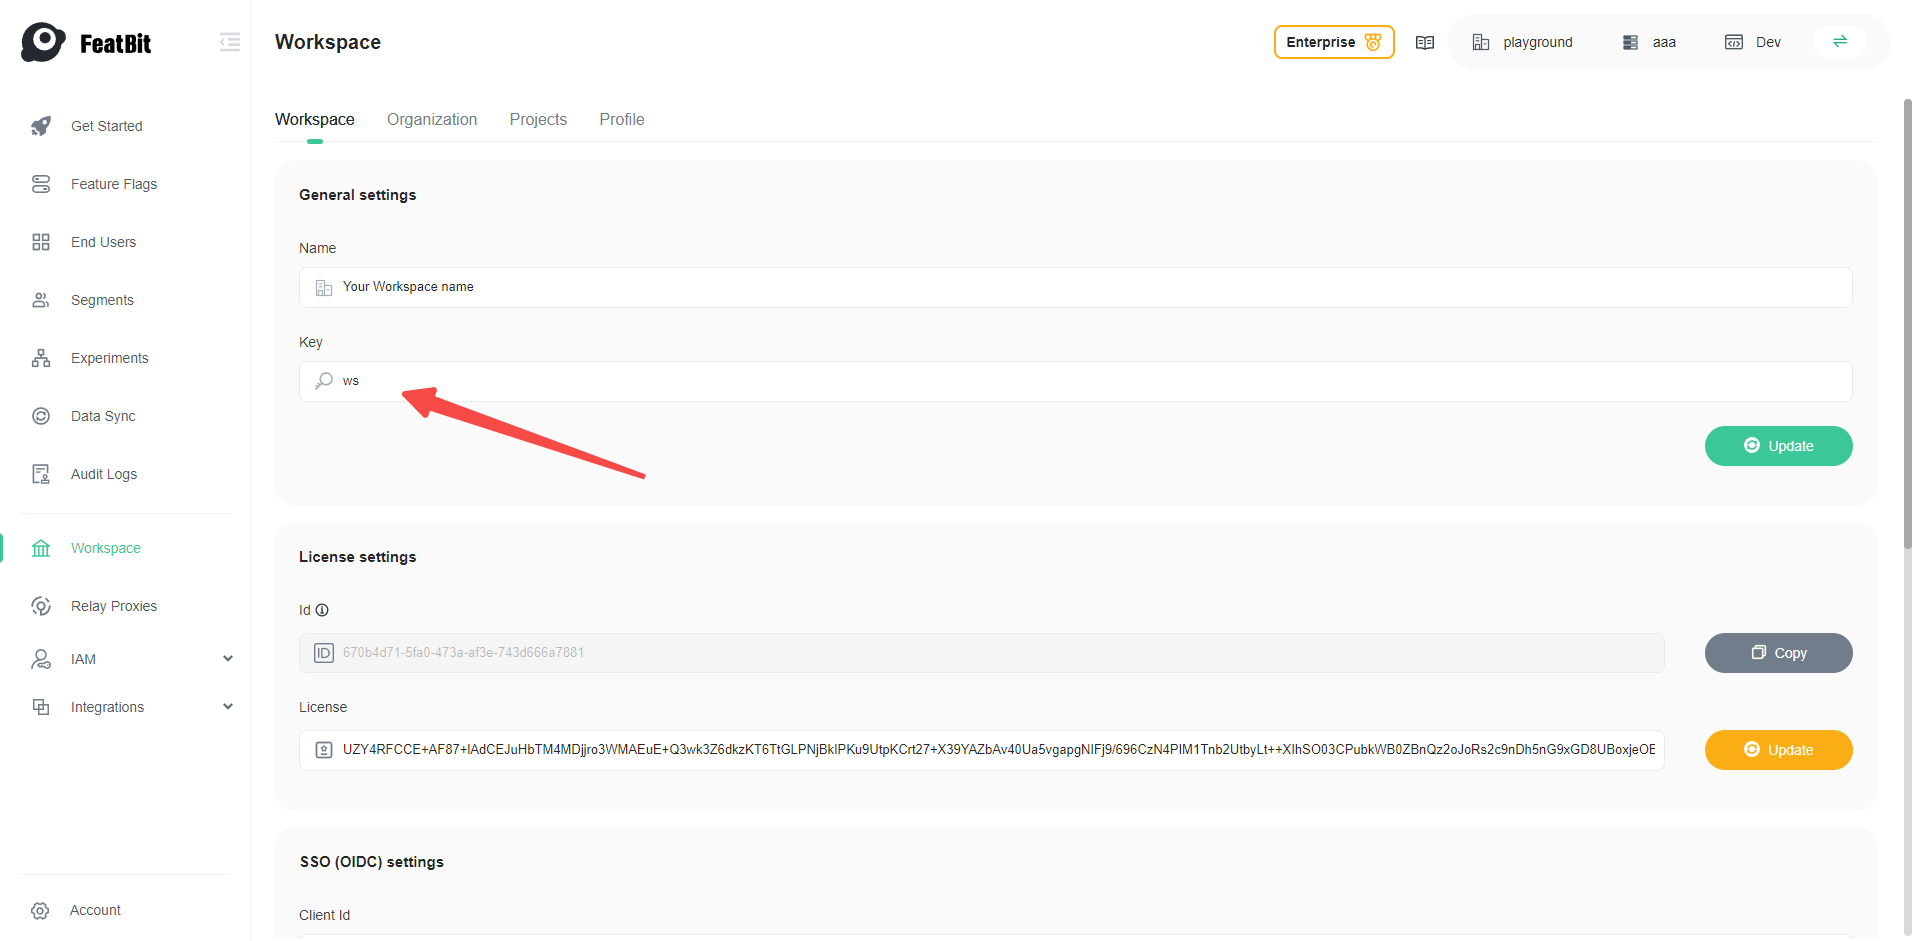
Configure FeatBit SSO
-
Go to FeatBit Workspace page: SSO configure (opens in a new tab) and scroll down to the SSO (OIDC) settings section
-
Fill in the following fields with values copied from Auth0:
- Client Id
- Client secret
- Token endpoint
- Authorization endpoint
-
For the following fields, you can use the values provided here:
- Client authentication method:
client_secret_post - User Email Claim:
email - Scope:
openid profile email
- Client authentication method:
-
The final configuration should be similar to the following:

-
Click on Update button to save the changes.
-
Copy the workspace key in the General settings, you will need it when login with SSO,
then Log out and click SSO, use the workspace key copied earlier. Click Continue and the browser should take you to the Auth0 login page, then you can log in with the user you created previously.